


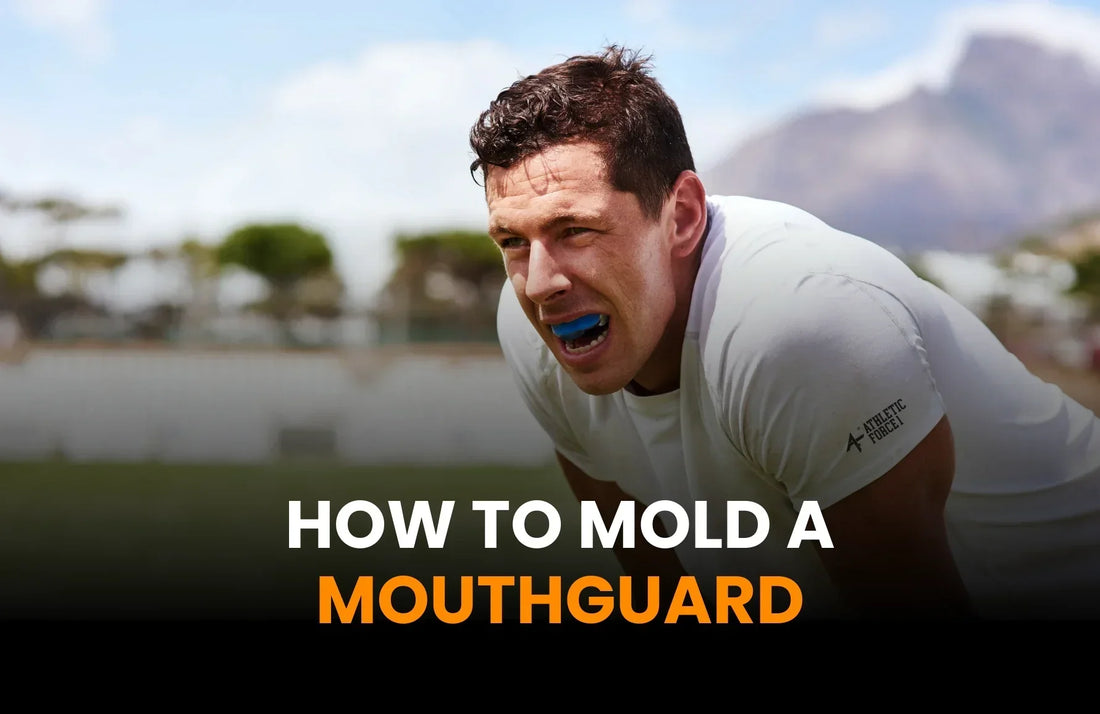
How to Mold a Mouthguard
A mouthguard is a simple yet essential gear for anyone involved in sports or physical activities. It is crucial in protecting your teeth, gums, and jaw from injuries. However, for it to work effectively, it must fit properly. In this guide, we’ll walk you through the steps to mold a mouthguard at home and explain why a proper fit is important for your safety and comfort.
Is Proper Mouthguard Fitting Important?
Yes, proper fitting is crucial. A well-fitted mouthguard stays in place, provides maximum protection, and feels comfortable. If it’s too loose, it can slip out during activity. If it’s too tight, it can cause discomfort or even damage your teeth. A properly molded mouthguard ensures safety and comfort, making it a must-have for athletes of all levels.
Items You Need to Mold a Mouthguard
Before you start, gather these items:
-
A boil-and-bite mouthguard (available at Athletic Force).
-
A pot of boiling water.
-
A bowl of cold water.
-
Tongs or a spoon to handle the mouthguard.
-
A mirror (optional but helpful).
Step 1: Place the Mouthguard in the Boiling Water
Start by boiling water in a pot. Once the water reaches a rolling boil, turn off the heat. Use tongs or a spoon to place the mouthguard in the hot water. Let it sit for about 30-45 seconds. This softens the material, making it flexible and ready for molding.
Be careful not to overheat the mouthguard. Leaving it in the water too long can damage the material. Always follow the instructions on the mouthguard packaging for the recommended time.
Step 2: Remove the Mouthguard and Let It Cool Slightly
After the mouthguard has softened, carefully remove it from the boiling water using tongs or a spoon. Shake off any excess water. Let it cool for 10-15 seconds. This step ensures the mouthguard is not too hot to handle or place in your mouth.
Order Mouthguards for your team
Step 3: Place the Mouthguard in Cool Water
Once the mouthguard has cooled slightly, dip it into a bowl of cold water for 2-3 seconds. This prevents it from being too hot when you put it in your mouth. After this quick dip, it’s ready for molding.
Step 4: Mold the Mouthguard to Your Teeth
Now comes the most important part. Place the mouthguard in your mouth, ensuring it covers your teeth evenly. Use your fingers, tongue, and jaw to press it firmly against your teeth and gums. Bite gently but firmly for 20-30 seconds to create an impression of your teeth.
While molding, make sure the mouthguard fits snugly. It should not feel loose or uncomfortable. Use a mirror to check the alignment if needed.
Step 5: Rinse and Cool the Mouthguard
After molding, remove the mouthguard and rinse it under cold water. This helps it retain its shape. Place it back in the bowl of cold water for 1-2 minutes to set fully. Once cooled, your mouthguard is ready to use.
Tips for a Perfect Fit
-
Follow Instructions: Always read the instructions provided with your mouthguard. Different brands may have specific guidelines.
-
Trim if Necessary: Use scissors to trim the edges if the mouthguard feels too big. Be careful not to cut too much.
-
Check the Fit: Test the mouthguard by talking and moving your jaw after molding. It should stay in place and feel comfortable.
-
Clean Regularly: Rinse your mouthguard after each use and store it in a protective case to keep it clean and durable.
Conclusion
Molding a mouthguard is a simple process that ensures maximum protection and comfort. Following these steps, you can create a custom fit that keeps your teeth and gums safe during sports or physical activities. Remember, a well-fitted mouthguard is not just about comfort—it’s about safety. Take the time to mold it properly, and you’ll enjoy peace of mind knowing you’re protected.
Whether you’re a professional athlete or a weekend warrior, a properly fitted mouthguard is a must-have. Follow this guide, and you’ll be ready to hit the field confidently!